

Headwrap
Ok, so here goes my first tutorial!!! I've been seeing all these awesome knitted headwraps around these days and since i am no good at knitting(my mother, however, is AWESOME!) i decided to try sewing some. So for this winter i figured fleece would be nice and cozy
 |
| CRAZY HAIR!! |
So first you cut out your pattern pieces....to make the pattern, I measured around Anastasia's head where i wanted the headwrap to sit (21"). Then I decided how wide I wanted it (3" for her). To draft the pattern i added 2" to the length (1" for seam allowances and another 1" for overlap) and added 1" to the width (for seam allowances) Then I drew out the pattern in the shape i wanted (kinda like a rectangle with tapered,rounded ends), I made a half pattern and cut out the wrap on a fold.... Cut two pieces.
 |
| I made a half pattern and cut on the fold to make sure my ends matched |
With right sides together, sew pattern pieces together, leaving a gap for turning...
 |
| Stitching the pieces together... |
Turn right side out, fold in edges of gap, and topstitch....
 |
| topstitching.... |
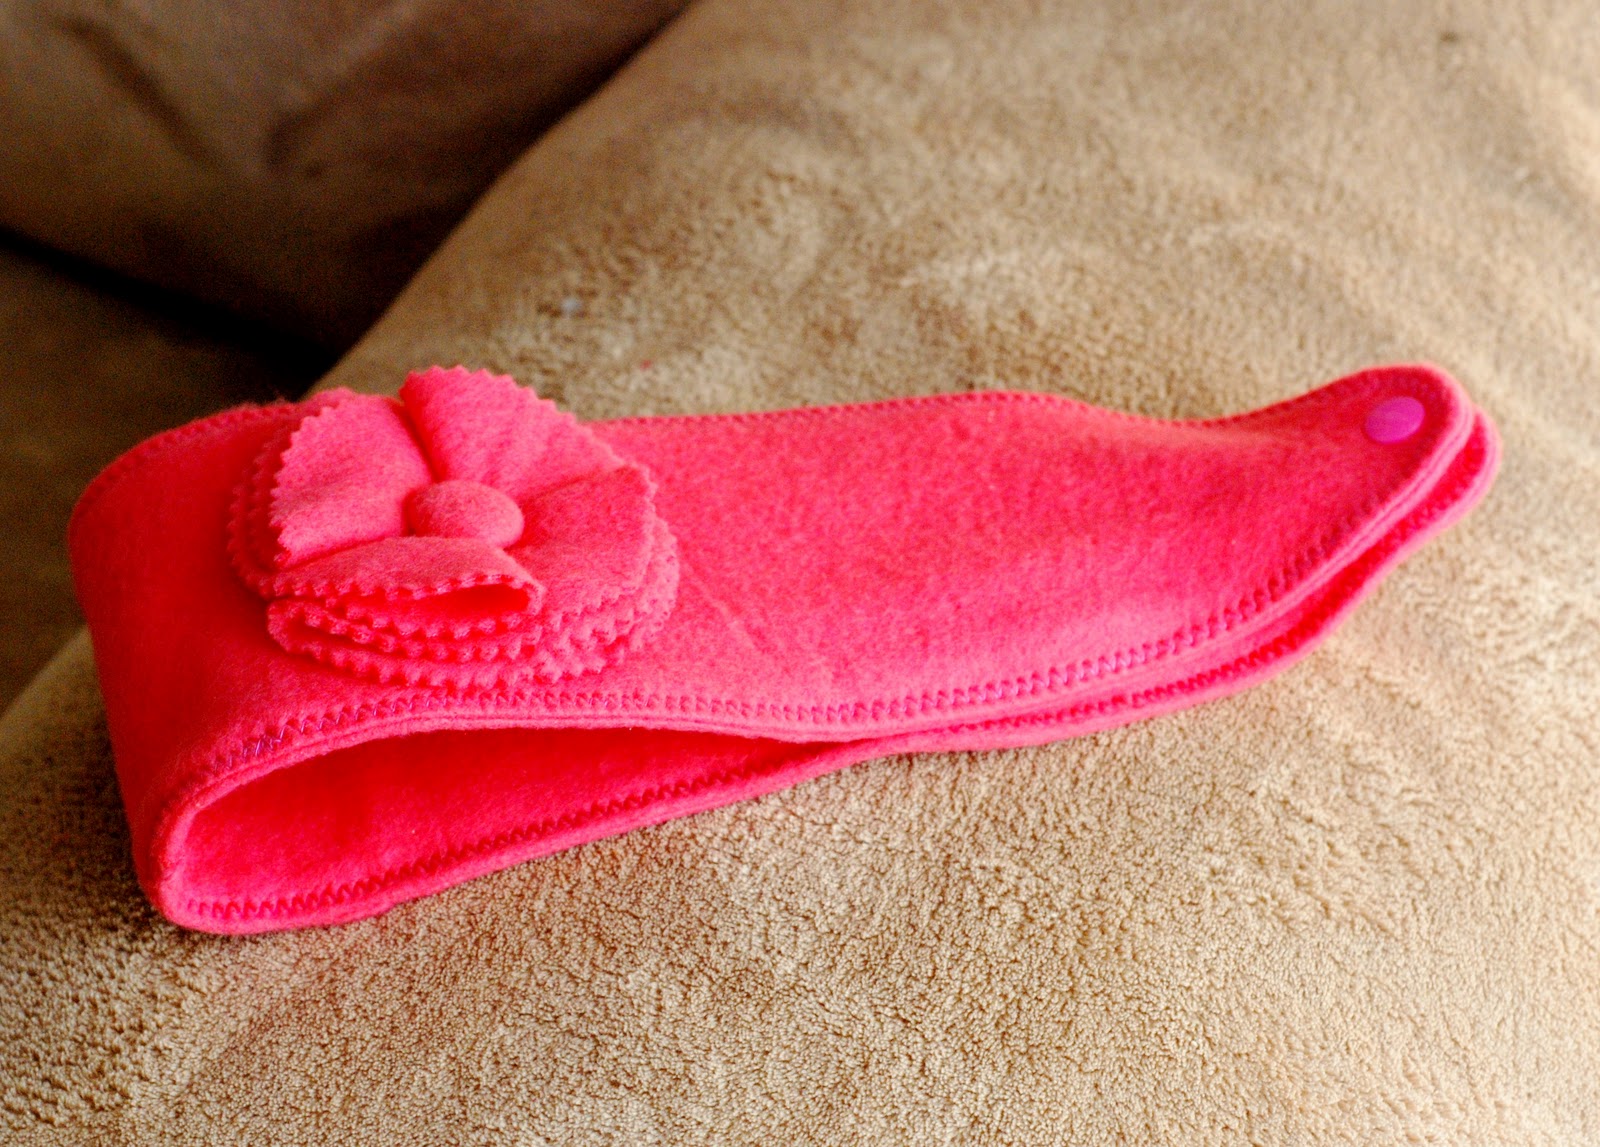
Then add whatever type of closure you want, I used snaps because I hate buttonholes, and love my kamsnap pliers!
 |
| I love my KAMsnap pliers! |
So far it will look like this....
 |
| Almost Done! |
Now I added an embellishment...I used an altered version of Icandy Handmade's super cute Box Fold Flower ...
 |
| I made a fabric covered button for the center-they are so much fun to do!!! |
Sew the flower on off-center on the band....
 |
| Viola! The Box Fold Flower is so easy and cute!!! |
And now you have a headwrap!!!

You can make them any size you want, for little people or big people!!!

Please forgive the lousy picture of me! I didn't have any other big person models available (other than Kenneth, and I don't think he wants to wear pink!)
And there you have it! An easy and cute headwrap!

Well done! Can't sew a stitch. Like your blog and am now following. Nice choice of colors. Good photos.
ReplyDeleteAunt Charlene