Showing posts with label Baby. Show all posts

Feb 17, 2012

Bottle Cozy


Here's a fun new project that actually started as can and bottle cozies(which you can still use it for!). I was making some as presents for my BIL and it hit me...I am always fighting to keep Mr. Man's bottle's warm when we go out and this would help! So they went from can cozies to bottle cozies...enough chatter let's get to the tut shall we?

First make yourself a pattern piece- which is just a 4.5" x 9.5" rectangle. Then cut out two pieces of fleece using your pattern...

Perfect for using up old scraps!


Next put your pieces right sides together and sew along both the long edges but NOT the short edges...


Turn right sides out and top stitch along the long edges 1/4" from the edge...

Turn right side out...

And topstitch

Now determine which side you want on the outside, that is now the 'right side' of the fabric. Fold your piece in half 'hamburger style' right sides together and sew together on the short edges...


Trim and turn right side out, and you have a cozy!!! 


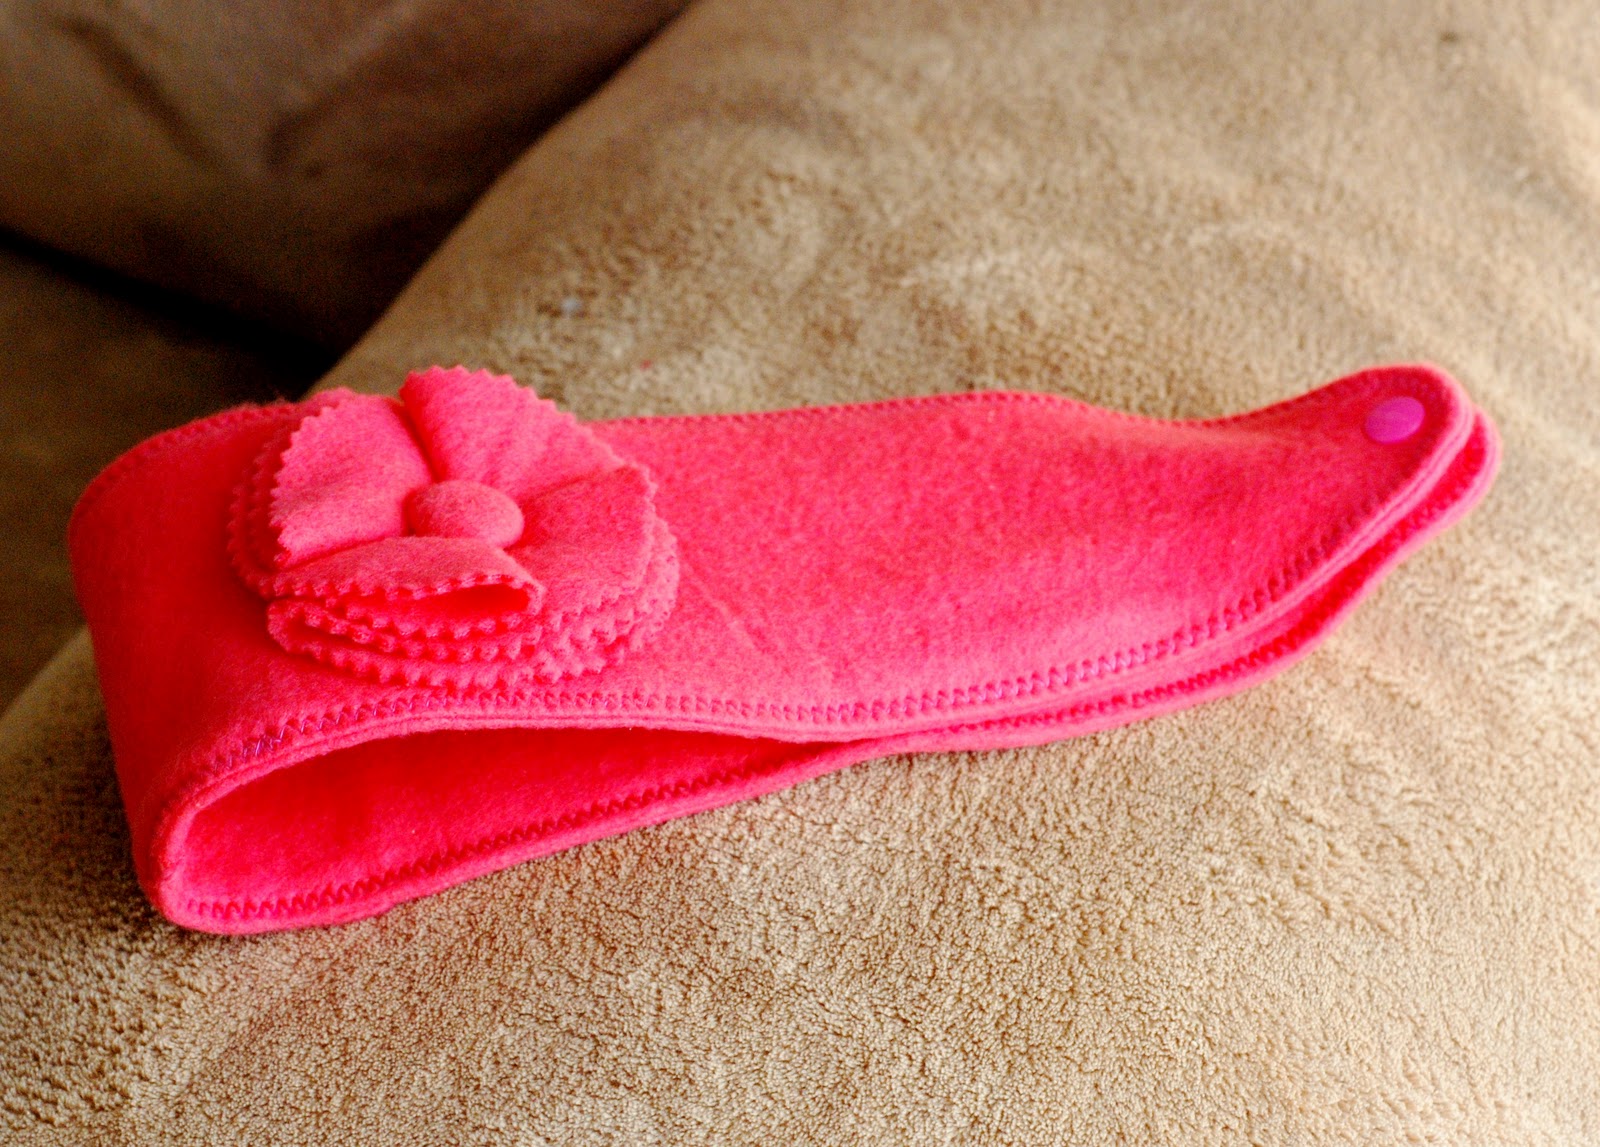
These guys don't have to be for bottles only, they fit soda cans and glass bottles too. If you like, you can add an embellishment like the flower on the cozy in the first picture. The flower is a variation of the Box Fold Flower from the ladies at I Candy Handmade. Well I hope you like these! Let me know what you think!

Happy Crafting!


Cute and Easy Skirt

Is anyone else following the awesome 'Nesting' posts over at Delia Creates??? There are a lot of great tutorials on there!!! I saw THIS cute post and wanted to make the skirt, but for my toddler SOOO I used her awesome instructions to make a big one and it worked great!


I will definitely be making more!


And it came out nice and long on Pumpkin to cover those knees!

There are so many awesome posts going on over there right now! Be sure and check them out!
Happy Crafting!


Jan 15, 2012

Headwrap Tutorial


Headwrap
Ok, so here goes my first tutorial!!! I've been seeing all these awesome knitted headwraps around these days and since i am no good at knitting(my mother, however, is AWESOME!) i decided to try sewing some. So for this winter i figured fleece would be nice and cozy

CRAZY HAIR!!


So first you cut out your pattern pieces....to make the pattern, I measured around Anastasia's head where i wanted the headwrap to sit (21"). Then I decided how wide I wanted it (3" for her). To draft the pattern i added 2" to the length (1" for seam allowances and another 1" for overlap) and added 1" to the width (for seam allowances) Then I drew out the pattern in the shape i wanted (kinda like a rectangle with tapered,rounded ends), I made a half pattern and cut out the wrap on a fold.... Cut two pieces.

I made a half pattern and cut on the fold to make sure my ends matched


With right sides together, sew pattern pieces together, leaving a gap for turning...

Stitching the pieces together...


Turn right side out, fold in edges of gap, and topstitch....

topstitching....


Then add whatever type of closure you want, I used snaps because I hate buttonholes, and love my kamsnap pliers!

I love my KAMsnap pliers!


So far it will look like this....

Almost Done!

Now I added an embellishment...I used an altered version of Icandy Handmade's super cute Box Fold Flower ...


I made a fabric covered button for the center-they are so much fun to do!!!

Sew the flower on off-center on the band....

Viola! The Box Fold Flower is so easy and cute!!!


And now you have a headwrap!!! 


You can make them any size you want, for little people or big people!!!


Please forgive the lousy picture of me! I didn't have any other big person models available (other than Kenneth, and I don't think he wants to wear pink!)

And there you have it! An easy and cute headwrap! 


Related Posts Plugin for WordPress, Blogger...